Download this zip file before starting this section. Lesson_1.zip
Welcome to the first installment of this series of tutorials about game building with Swift and SpriteKit.
There are already hundreds of tutorials on this subject, but the problem I have with many of the tutorials I've seen is that while the information is good, the focus is so tight on SpriteKit that good game design and good software development practices go down the spike pit.
This series of tutorials will attempt to cover all of this and present the material in a way that isn’t contrary to good game design and software development practices. Here’s the catch; I’ll be learning too. I’ve never written an entire game before. This means I might (almost certainly will be) wrong on the internet! The horror, the shame of it all! Here’s the best part for you folks. I totally want you to call me out on it. Please, please if you have a better idea, or you see a mistake, I want to know about it. Working together and by learning from each other, the tutorials will be better and we will all get better at programming games.
I’ll attempt to break the tutorials up into small, easily digestible parts. This should help narrow problems down and focus questions if there are any. That being said, this particular tutorial is a bit of a long one, so prepare yourselves.
Let’s get started.
As of writing the tutorial the latest public version of Xcode is 6.2 (6C131e). If during the duration of the tutorials Xcode is updated and a new version of Swift is released; I’ll make note of changes to code to support later versions of the software.
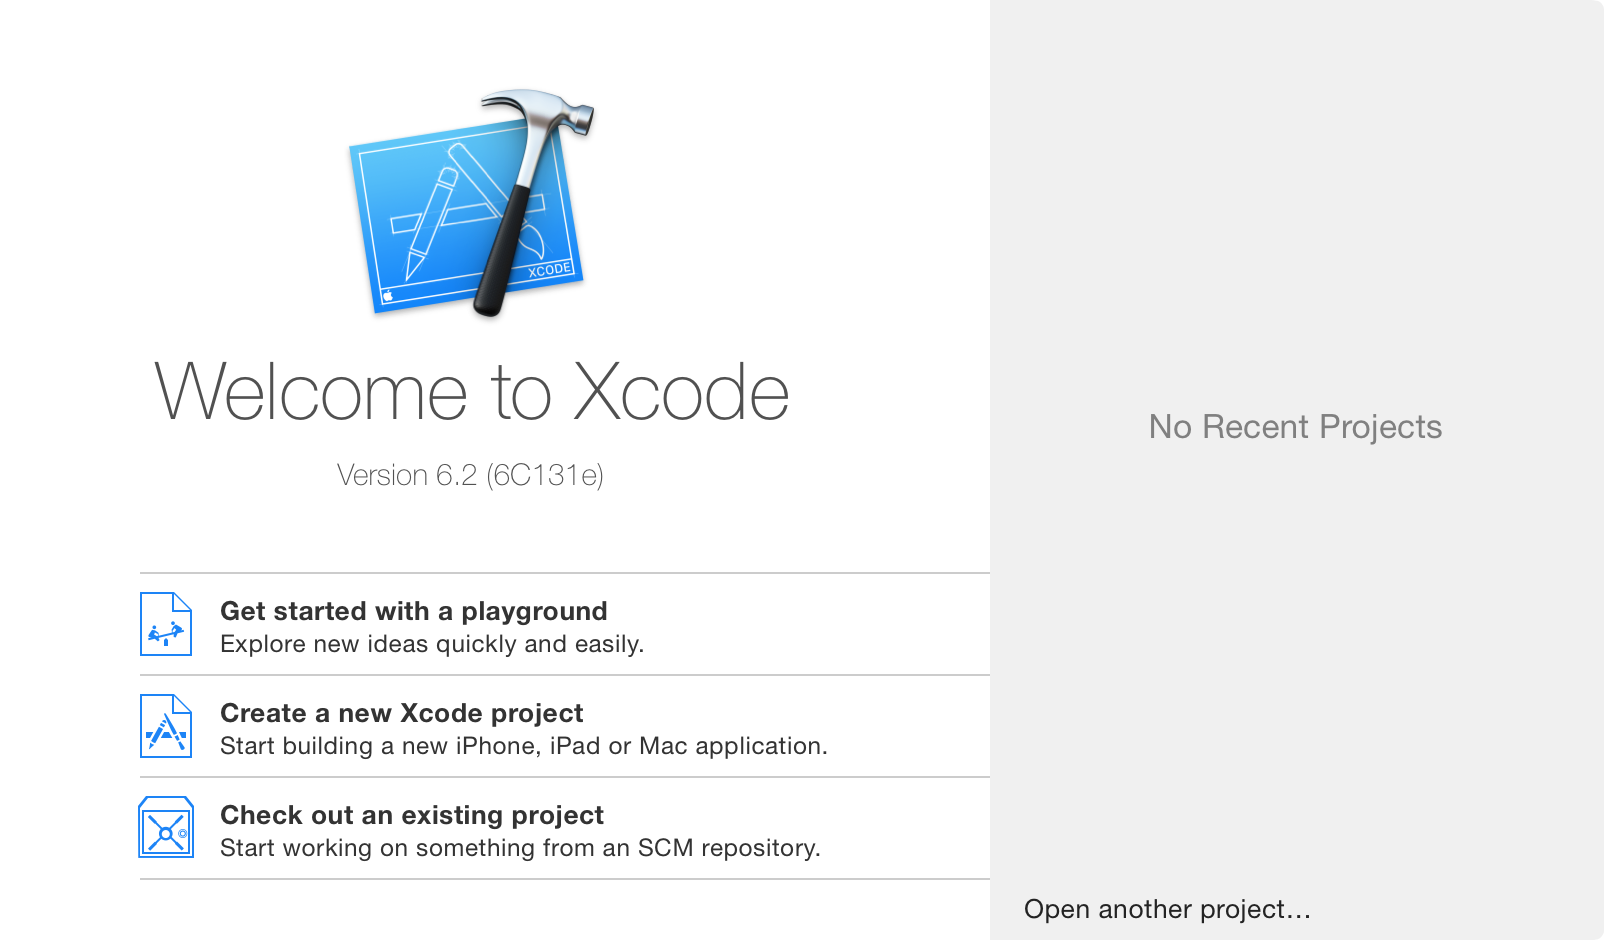
To create a new SpriteKit game first open Xcode, click on “Create a new Xcode project”. If you don’t see this menu, from the menu bar choose File > New > Project… .
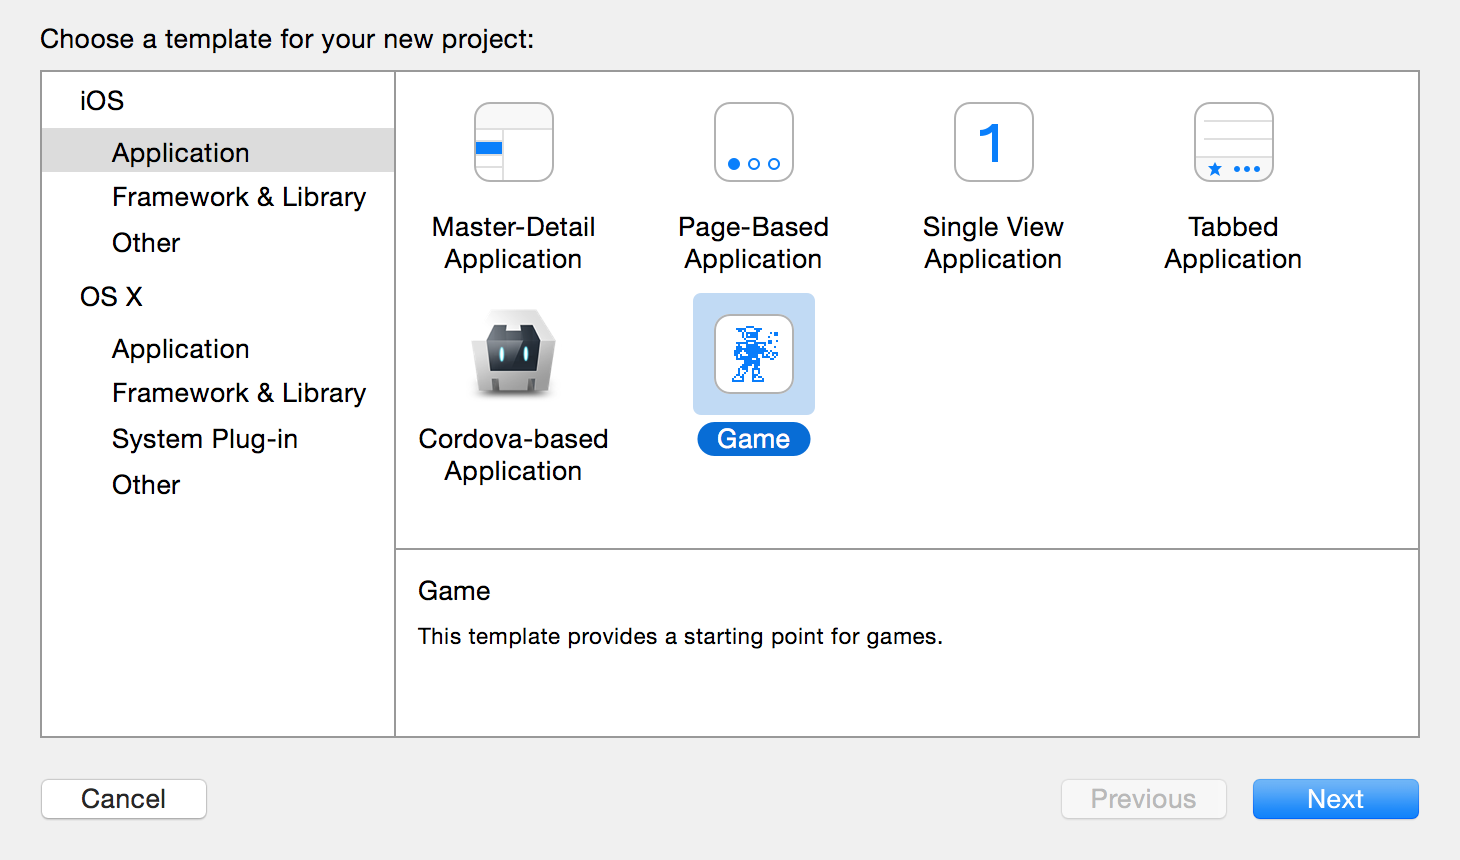
On the template selection screen ensure that you are creating an iOS project and choose the “Game” template. Once you have selected, click next.
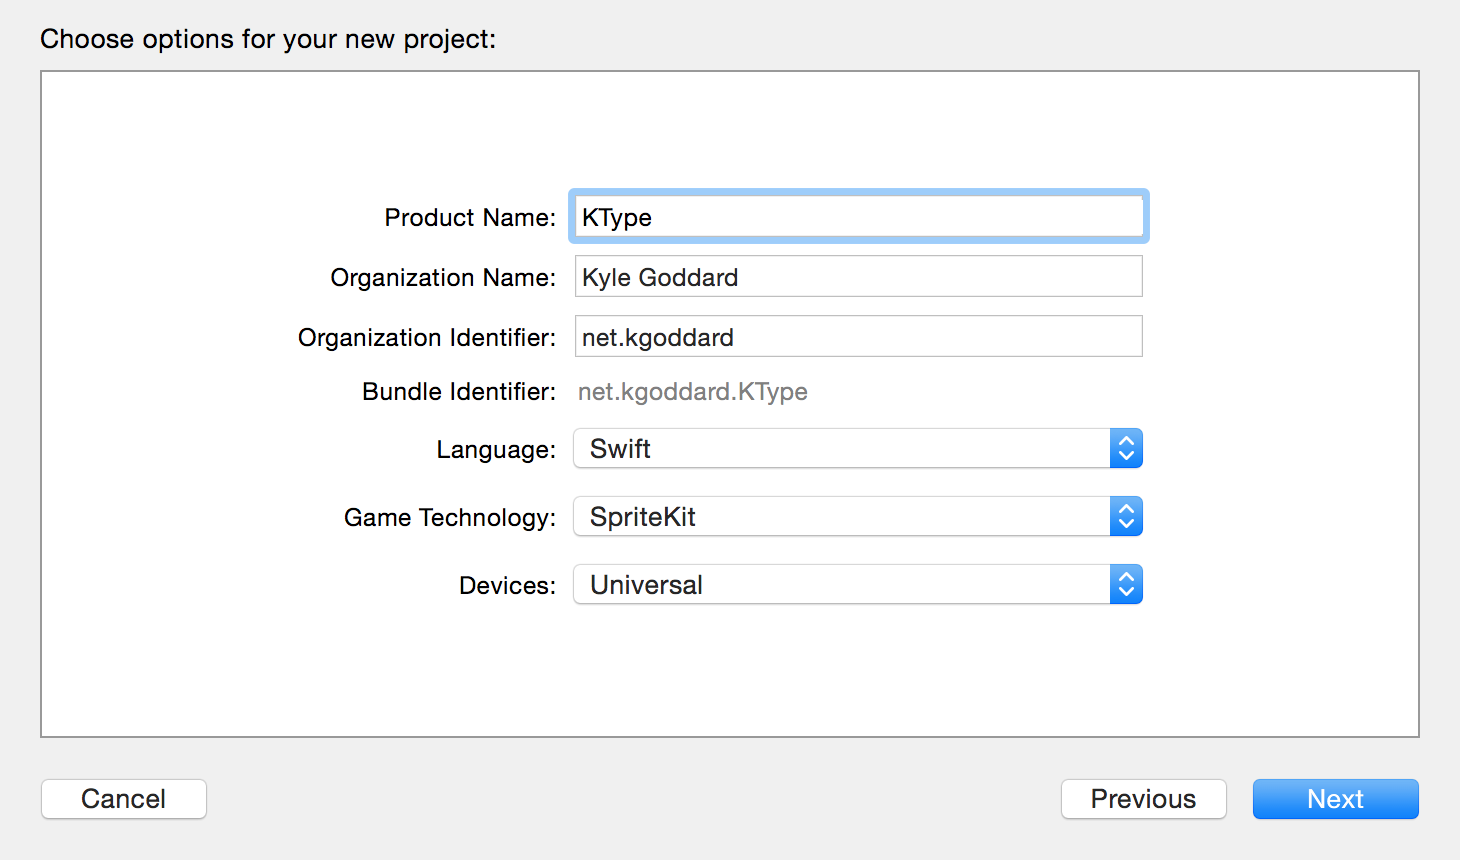
On the project options screen enter in a name for your project. The game that we will be making is going to be a side scrolling shooter in the vein of R-Type and similar games. I elected to call my game “KType”, but you can call your game whatever you like.
In this case the organization name is your own name or company. The organization identifier should follow the convention of being a reverse domain, tld.domain. This creates the bundle identifier which is used to identify your app if you choose to upload it to the Apple App Store.
The language we will use for the tutorials is Swift. If you prefer Objective-C it should be fairly easy to translate from the Swift shown to Objective-C with a little bit of Googling. Ensure that the “Game Technology” chosen is “SpriteKit”. The devices that we will support are the iPhone and iPad, because of this select “Universal” from the drop down list. This will create an interesting challenge for us later as it means the playing area is different from one device to the next. Once you have made your selections, click next.
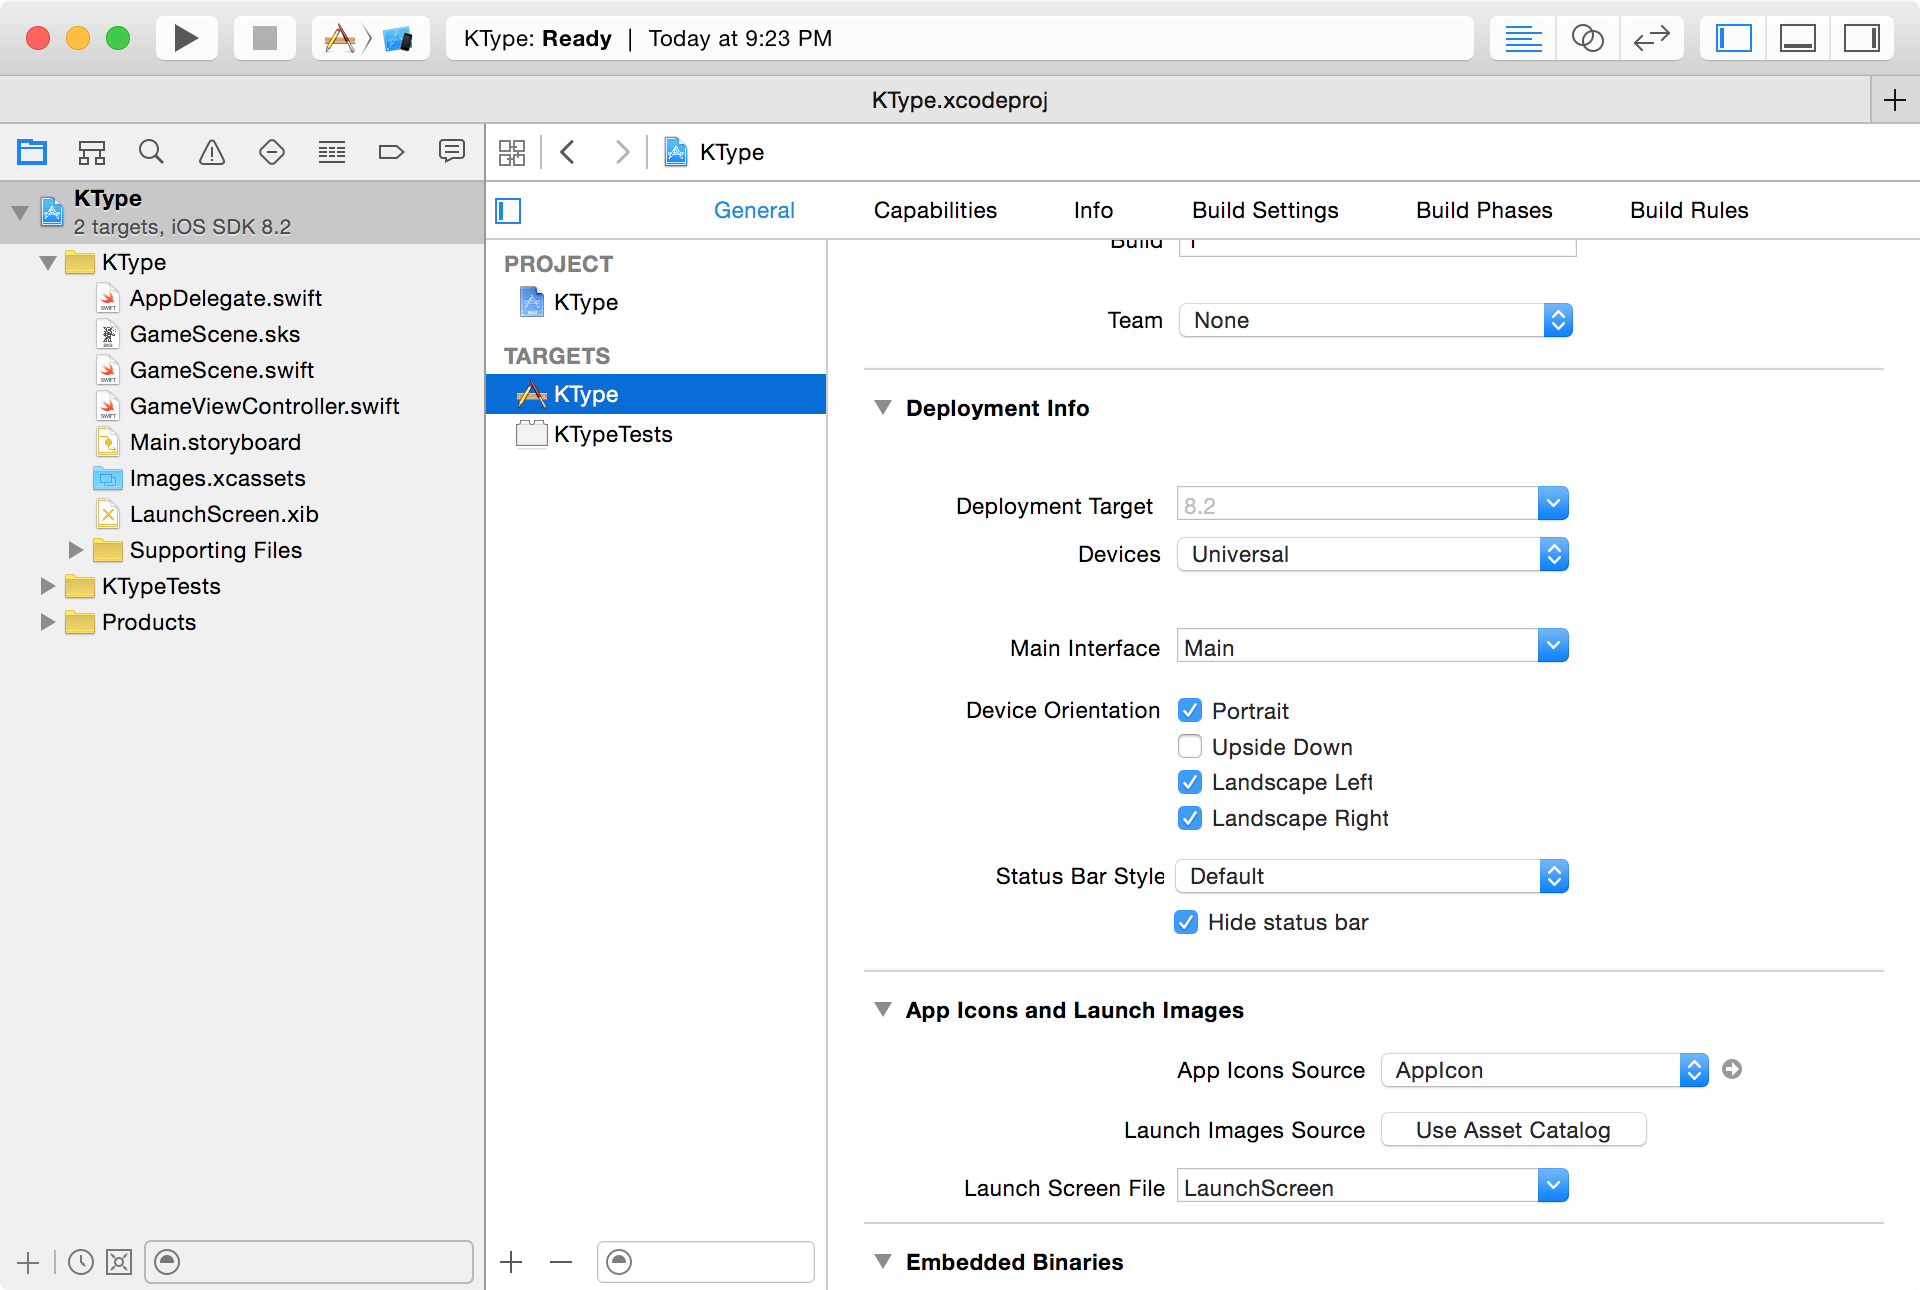
At this point you should see the editor window with a new project created. In the editor window you should see that under the list of targets, the target for the game application is selected (in my case “KType”), and the build settings displayed. If you do see all of this, then it’s technically a total working game environment.
Select a device to run this app on from the menu at the top of the screen. If you are unable to build onto a device, select a simulator. Keep in mind that running a game on the simulator is much less efficient than running it on a device because the simulator must emulate the powerful graphics processors in the iPhone and iPad. As a result of this games running on the simulator may become very slow and unresponsive, this doesn’t mean that the game won’t run well on the device though and if possible test on the device frequently.

Here I have selected the iPhone 6 simulator to test my game on. Click the play button in the top bar to build and run the app or if you prefer keyboard shortcuts ⌘R. The first time you do this it may take a while as the application must be compiled, the simulator must open and Xcode must install the application on the simulator.
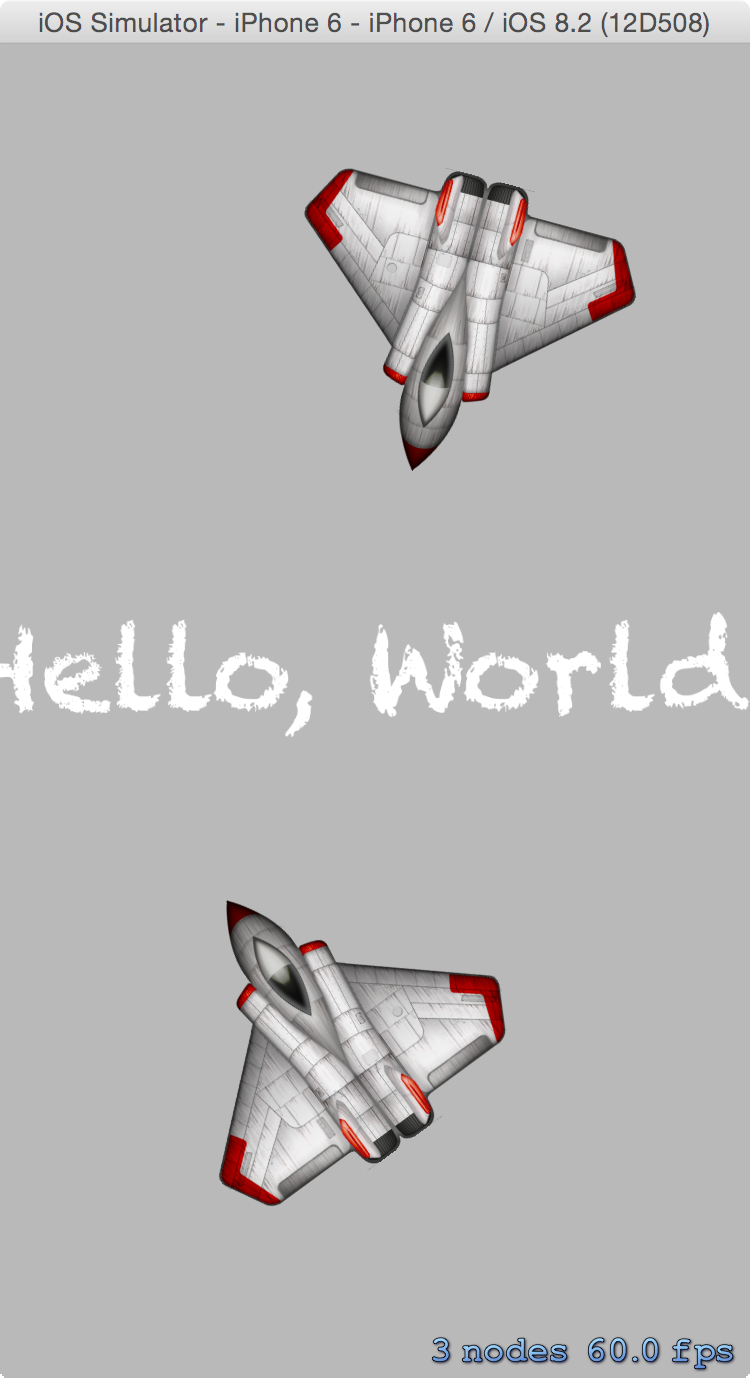
Once the game is running you should see the words “Hello, World” displayed on the middle of the screen and in the bottom right you should see “1 node 60.0 fps”. If you tap the screen you should see a rotating space ship get added to the screen. When you add space ships you should also see the node count increase and perhaps the fps will go down. FPS means frames per second. This is the current number of times the entire scene is drawn to the iPhone or iPad or possibly simulator. Typically the higher this number is, the smoother your game will feel while playing. Don’t worry if your fps is less than 60.0, this may be that you are building on an older iPhone or iPad that has an older graphics processor, or possibly you have built the game on the simulator. If the number is higher than 60.0 fps, don’t worry about that for now either.
Go back to the Xcode editor and press the stop button in the top bar, or the keyboard shortcut ⌘.. This should stop the application running on device or in the simulator.
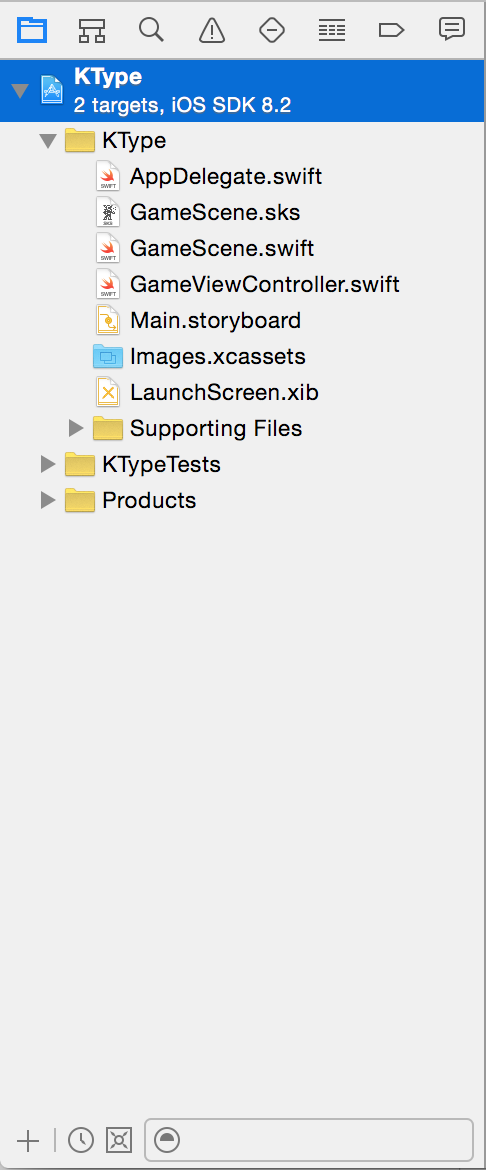
In the panel on the left side of the Xcode window you should see a list of files. If you don’t ensure that the icon that looks like a folder is highlighted. Once the list of files is showing, click on the file named “GameScene.swift”. If you are choosing to do the tutorials in Objective-C the files will have a .h and a .m extension for the header and implementation files.
GameScene.swift should now be opened in the editor pane of Xcode.
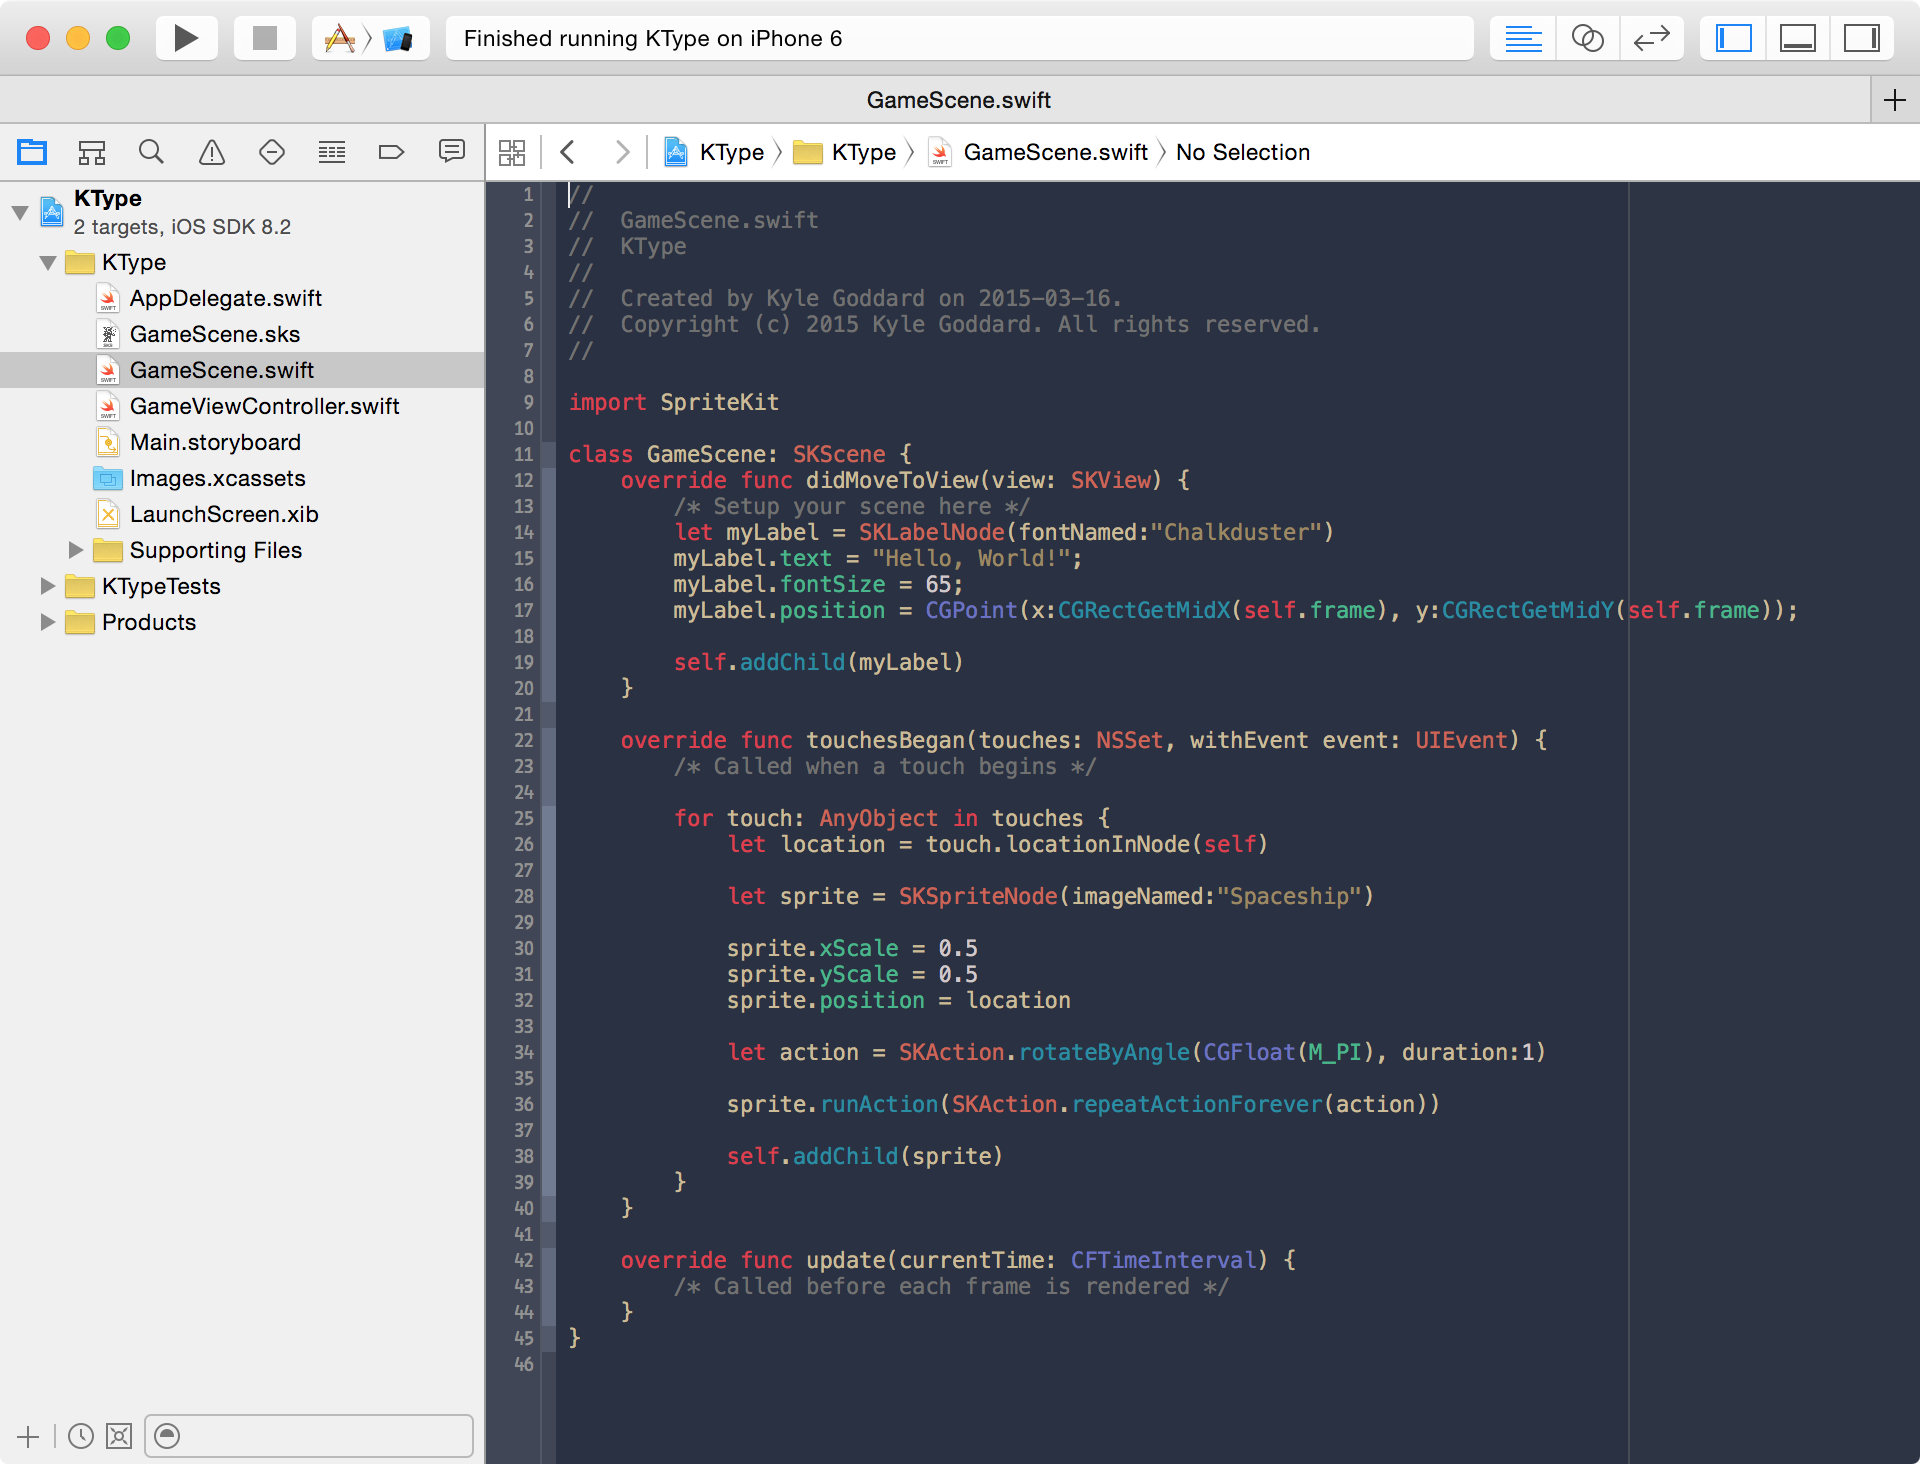
We should see that on about line 14 of GameScene.swift there is the code that is setting up and adding the label that says “Hello, World!” to our game scene. Let's change the font since Chalkduster is not easy to read and doesn't really fit well with our space theme. I’ve always liked Futura, and since it is included with iOS it’s easy to set it as the font for our label.
1 // let myLabel = SKLabelNode(fontNamed:"Chalkduster");
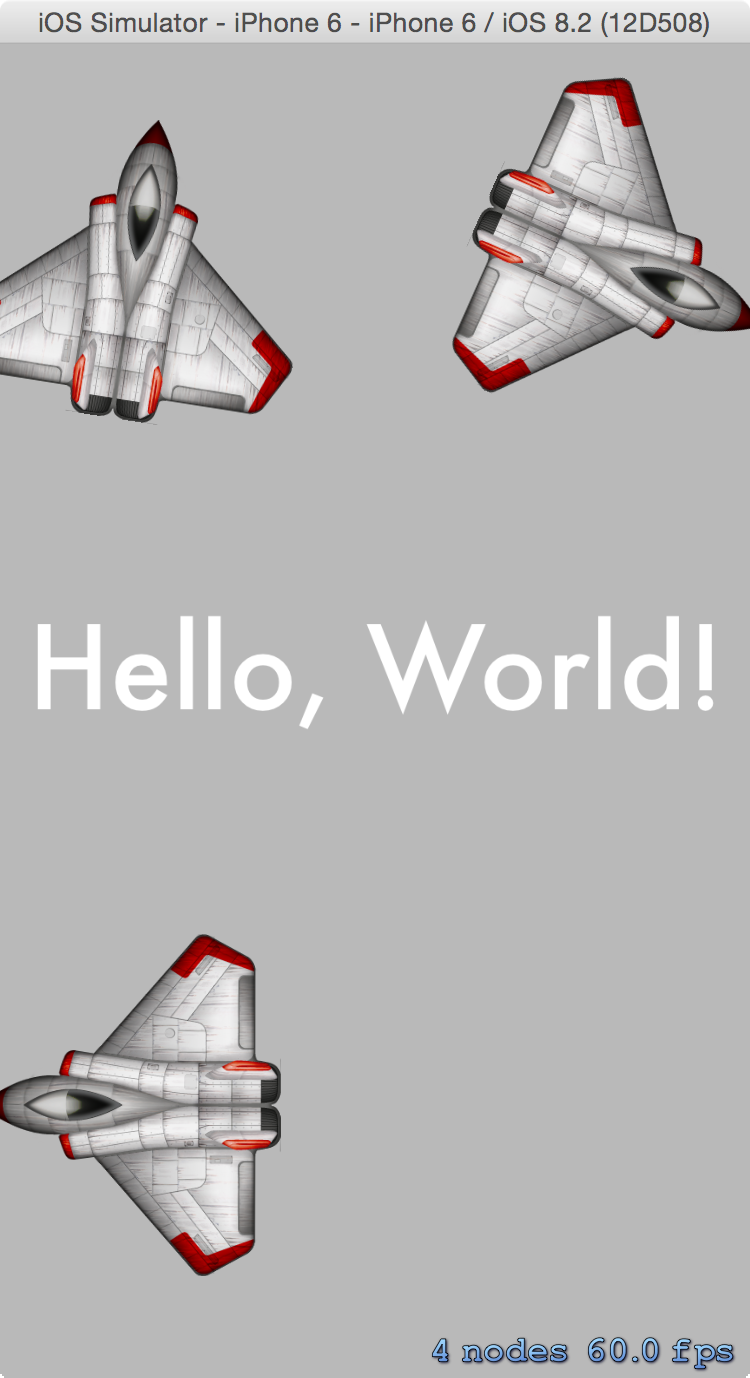
2 let myLabel = SKLabelNode(fontNamed:"Futura");Now when we build and run the project, our label looks a little more modern and space flavoured.
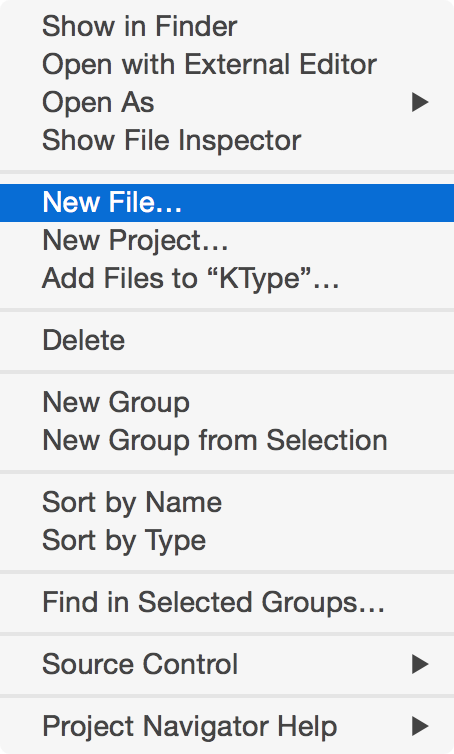
This is all great but a space game should probably look like it’s in space. Lets start by adding the classic passing stars to the background of our game. Start by right clicking on the file explorer panel of Xcode and selecting “New File...”.
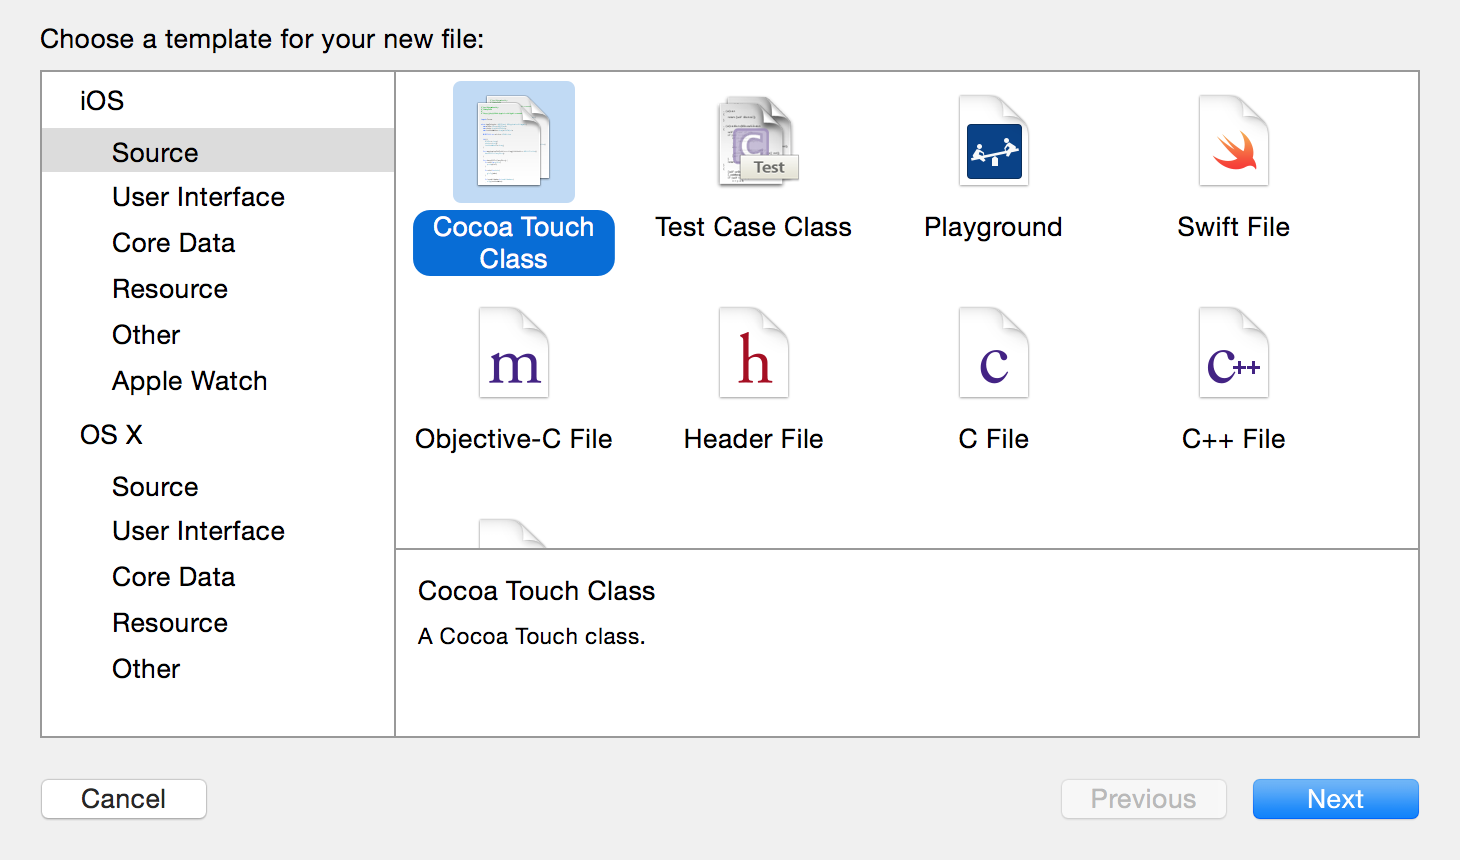
Ensure that you have selected “Cocoa Class” under iOS sources when selecting the template.
Give the new class a name of “KGStarFieldNode” or use whatever prefix you prefer. A popular convention is to use the initials of the organization that owns the project as the prefix to file names. In this case KG is my initials. The reason classes are often prefixed in this fashion is that it can reduce naming collisions for classes. It is less likely that another organization will have a class called “KGStarFieldNode” over one just called “StarFieldNode”. This convention becomes important when you start using shared or open source libraries and code in your projects or even important if you want to subclass a class that exists in the iOS SDK.
Ensure that the new class is a subclass of SKNode, and that the language used is Swift.

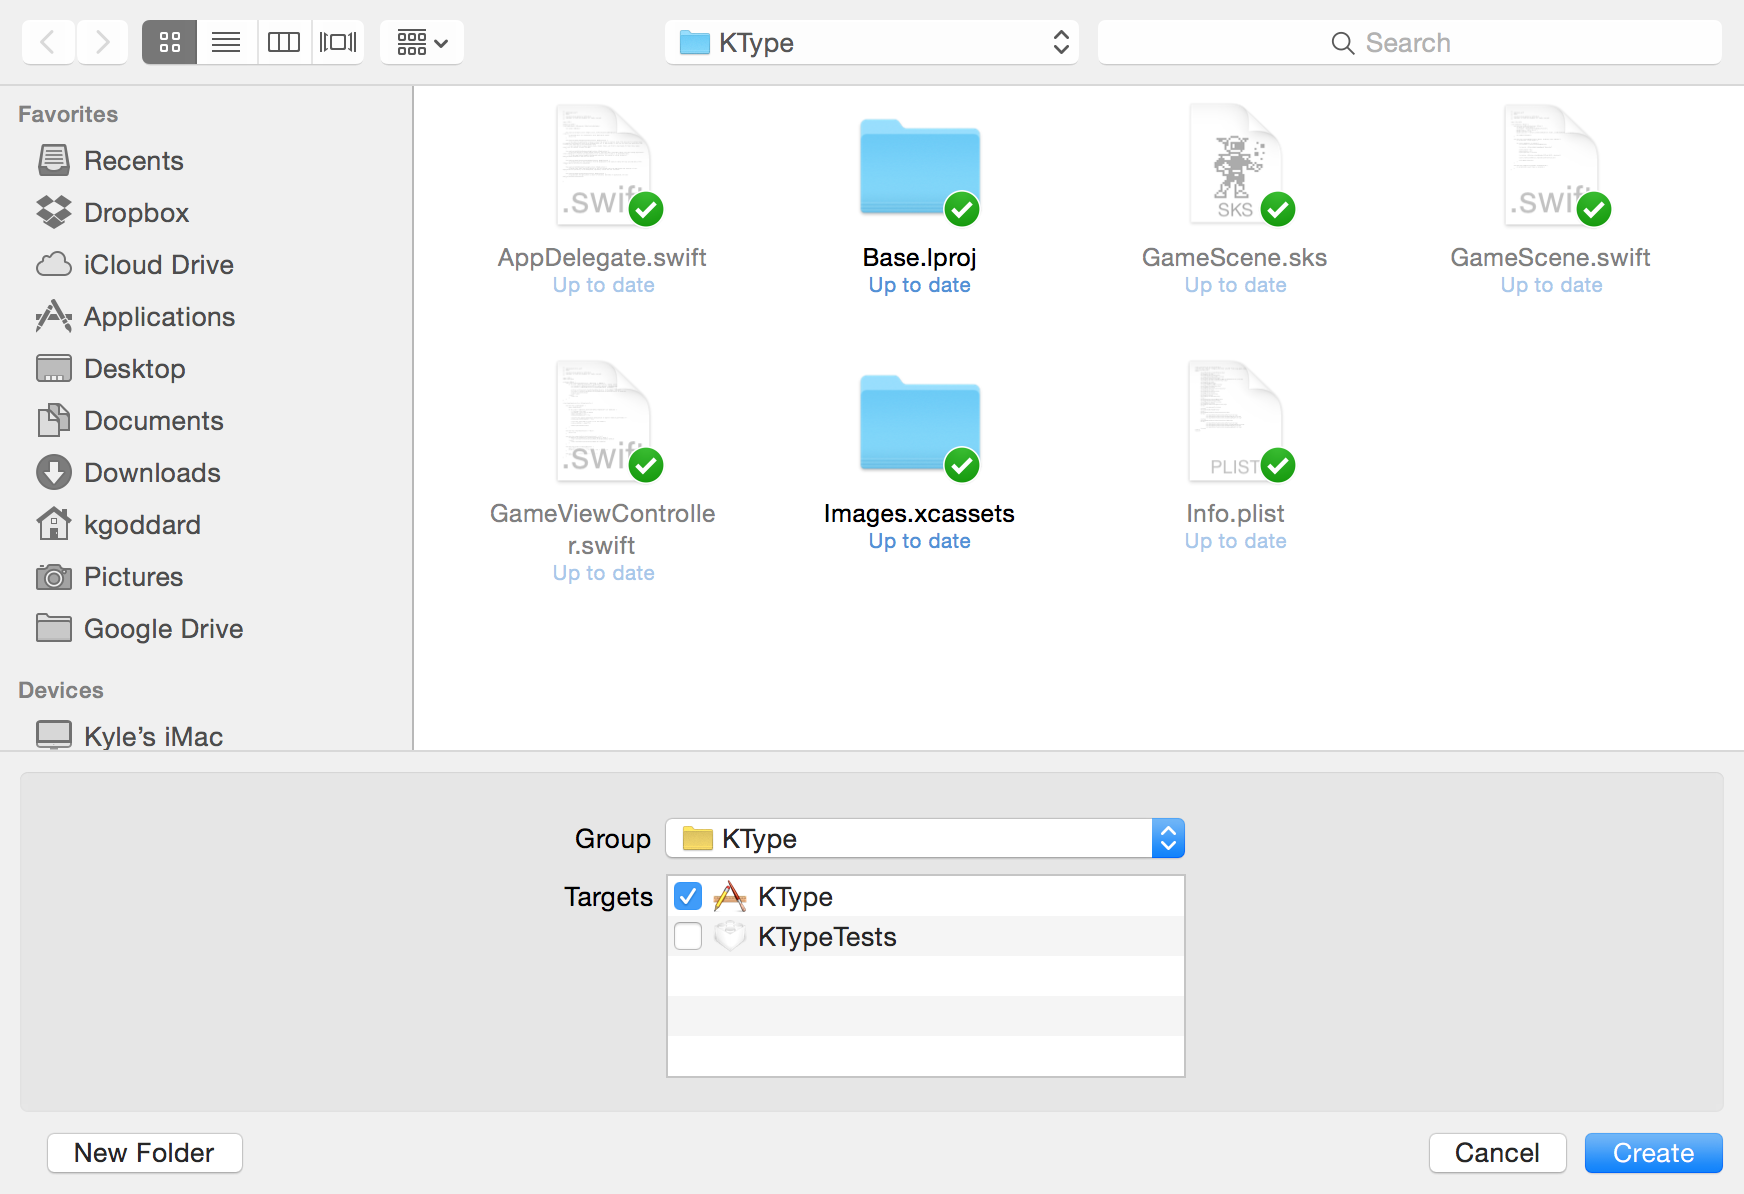
Ensure that the file is going into the “KType” folder or the folder that is the same name as your project, and that the group selected is “KType” or matches the name of your project. We will have many groups later, but for now this is fine.
Finally click create. This should now show your new class in the editor window. You might also notice that we now have an error. Click on the small red circle with the exclamation mark in gutter on the left side of the editor pane, this will expand the error and give us a little more information about what has gone wrong.
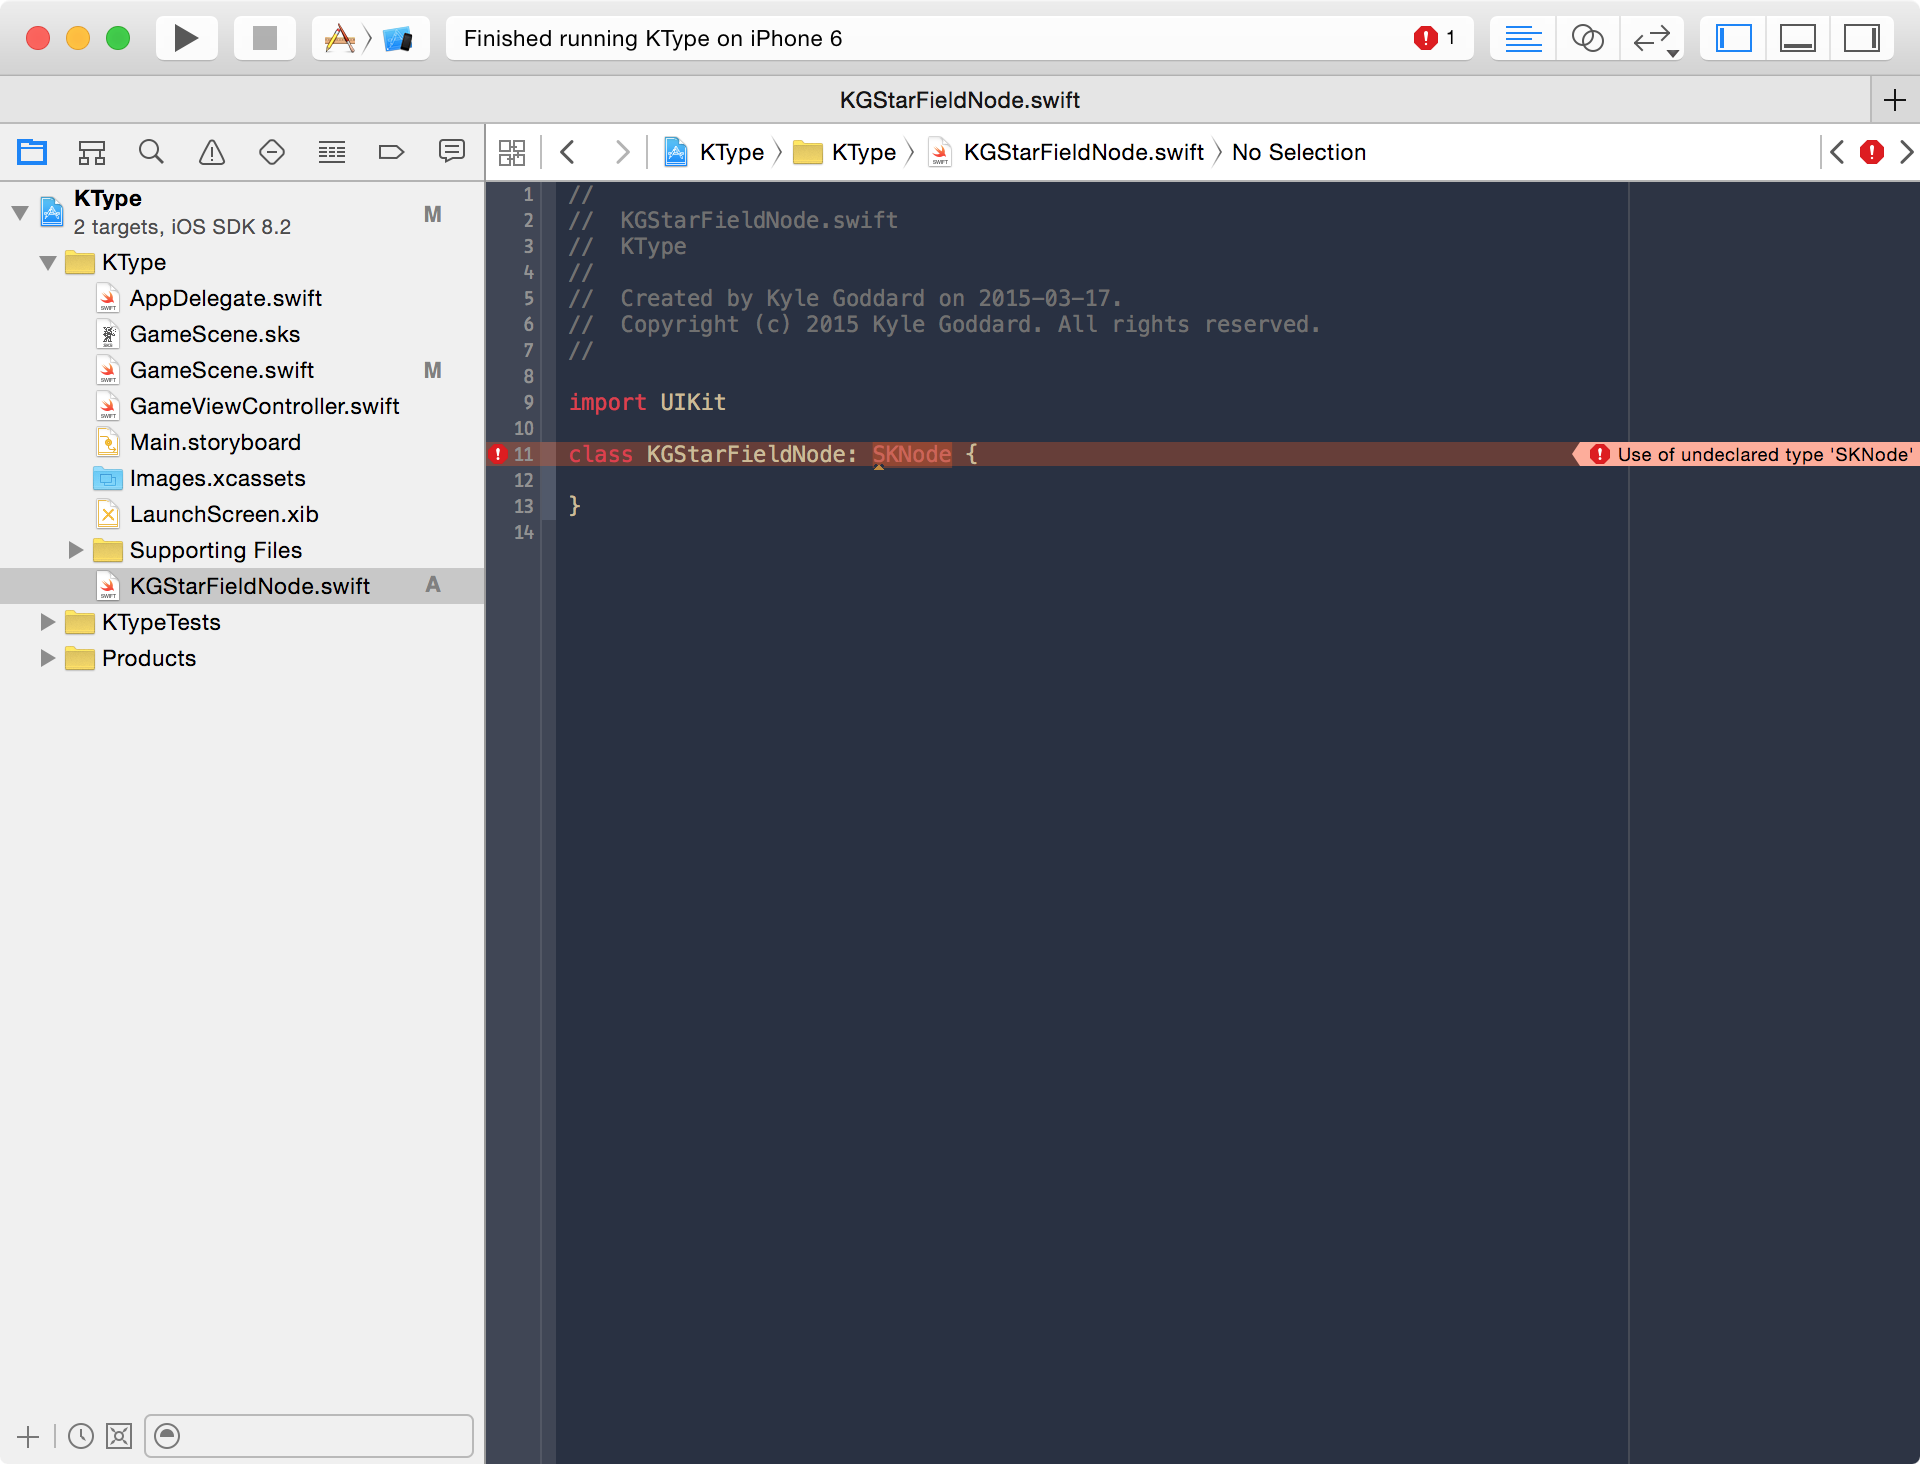
Specifically the error is “Use of undeclared type ‘SKNode’”. LLVM, the Swift compiler doesn’t know what an SKNode is, and that’s because for some reason the template chooser in Xcode doesn’t import the libraries that SKNode belongs to when the new class file is created. It also imports UIKit, which we don’t need. Lets start off by deleting the line that imports UIKit from our file. Then add a line that imports SpriteKit where UIKit used to be. Your code should look something like this:
1 //
2 // KGStarFieldNode.swift
3 // KType
4 //
5 // Created by Kyle Goddard on 2015-03-17.
6 // Copyright (c) 2015 Kyle Goddard. All rights reserved.
7 //
8
9 import SpriteKit
10
11 class KGStarFieldNode: SKNode {
12
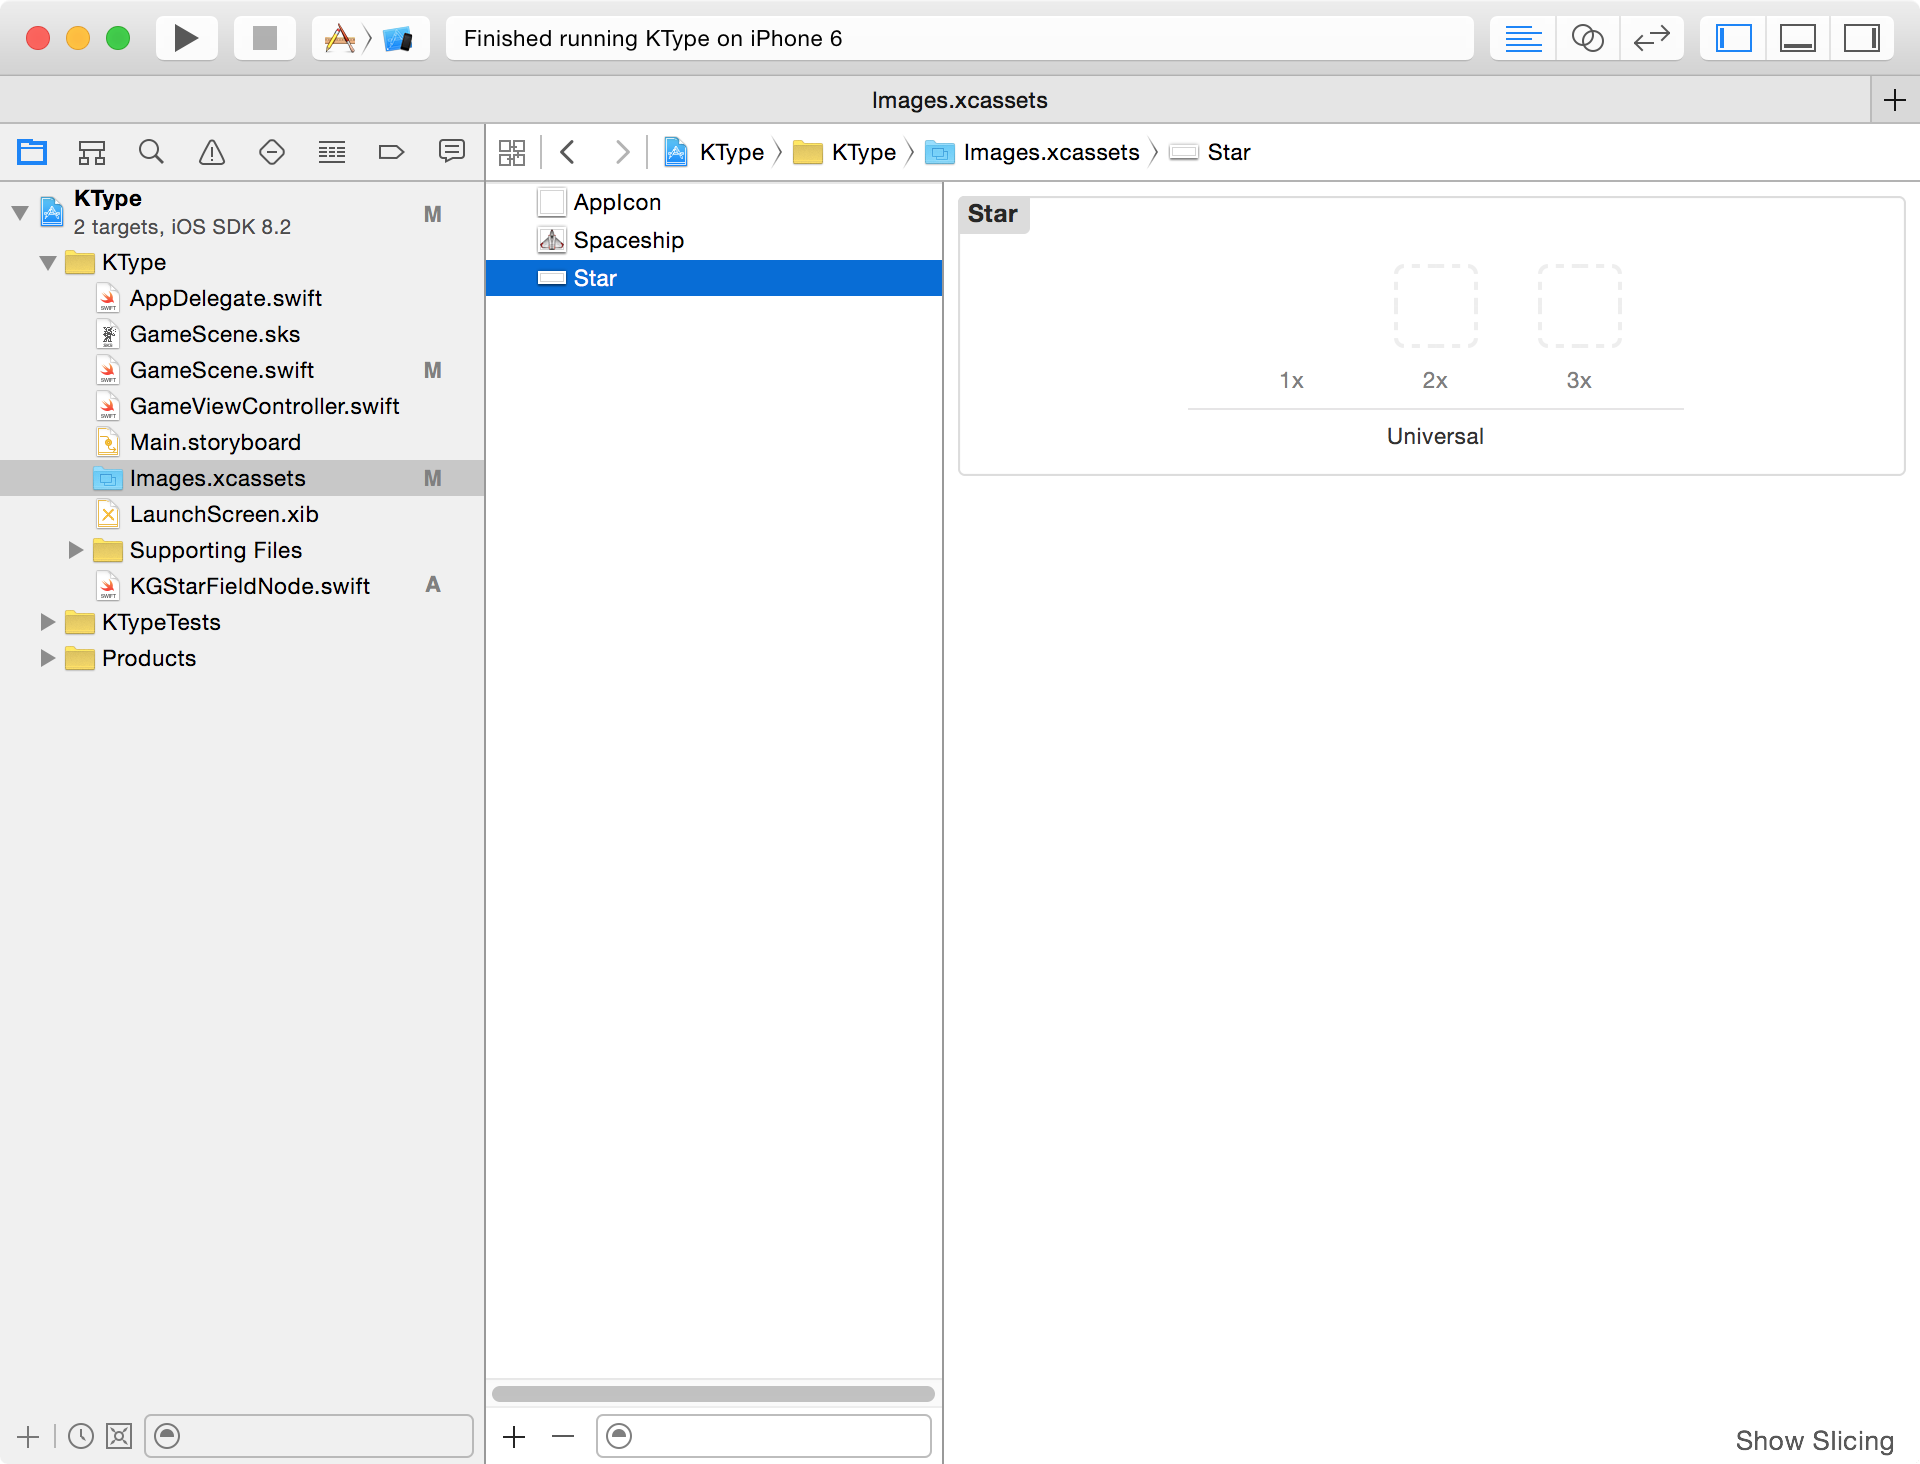
13 }Next we’re going to add the image that will make the stars in our star field to our project. In the zip file provided at the top of this article you will find a file “Lesson 1/Assets/Star.png”. Open the Images.xcassets folder in the file explorer. You will see that there are already 2 images listed here. AppIcon which is the icon that shows in the iOS spring board and which a user would tap on to start the application. There is also the Spaceship which we saw earlier when the app was running and we tapped on the screen. Drag and drop “Star.png” under Spaceship in the list. This should now show the newly added star graphic, actually you probably won’t see much as the background here is white and the star graphic is very small, and white on a clear background. If you look closely though you will see that the “1x” section has no dashed line around it. This indicates that this spot is filled. If this were a game that we intended to put on the AppStore we would probably want to make sure that the 2x and 3x images were made available as well. Since this is just a tutorial, we’ll make due with just the 1x.
Lets get back to our star field class. Inside our class we are going to add a function that creates new stars and adds them to the star field. Find the line that reads.
1 class KGStarFieldNode: SKNode {Right underneath that line add the following code:
1 private func spawnStar() {
2         if let gameScene = self.scene {
3         }
4     }
This new function is a private function called spawnStar which returns void, meaning when the function is run there is no output that can be assigned or used elsewhere. The line that starts with "if let” indicates that if self.scene is not nil we can run the block of code following the if. This is Swifts if let syntax. Since there is no code outside the block following the if, in the case that self.scene was nil the spawnStar function returns without having done anything.
The private keyword indicates Access Control, which if you are coming from Objective-C may be a little strange. Over simplified, there is no access control in Objective-C, it’s very easy to call an intended private selector from another class in Objective-C. With Swift there is Access Control, in this case it’s private which means that only this class can call this function and the function is hidden from other classes in the application. Here is Apple’s explanation of private access.
Private access restricts the use of an entity to its own defining source file. Use private access to hide the implementation details of a specific piece of functionality.
Next lets add the code that will indicate where to put new stars in our star field. Update your code to look like the following:
1 private func spawnStar() {
2         if let gameScene = self.scene {
3
4             let randomPositionY = CGFloat(arc4random_uniform( UInt32(gameScene.size.height)))
5             let maxPositionX = CGRectGetMaxX(gameScene.frame)
6             let spawnPoint = CGPointMake(maxPositionX, randomPositionY)
7         }
8     }
Here we get a random position in the height of the screen with randomPositionY. Next, we get the position farthest to the right side of the screen with maxPositionX. Lastly we use randomPositionY and maxPositionX to create a set of coordinates with spawnPoint. This will be used to place our new star on the star field.
Next we are going to create the actual star that will appear on the star field. Update your code to look like the following:
 1 class KGStarFieldNode: SKNode {
 2
 3     private let starSize = CGSizeMake(15.0, 5.0)
 4     private let baseAlpha: CGFloat = 0.1
 5
 6     private func spawnStar() {
 7         if let gameScene = self.scene {
 8
 9             let randomPositionY = CGFloat(arc4random_uniform( UInt32(gameScene.size.height)))
10             let maxPositionX = CGRectGetMaxX(gameScene.frame)
11             let spawnPoint = CGPointMake(maxPositionX, randomPositionY)
12
13             let starNode = SKSpriteNode(imageNamed: "Star")
14             starNode.position = spawnPoint
15             starNode.size = starSize
16             starNode.alpha = baseAlpha + CGFloat(Double(arc4random_uniform(10)) / 10.0)
17
18             self.addChild(starNode)
We can see here that we create a new instance of SKSpriteNode with the “Star” image we added to the xcassets earlier. Once we have created the starNode we then use the coordinates we created earlier spawnPoint and set the starNode.position property to those coordinates. Next set the starNode.size property to starSize, which is defined outside the class. When we set the alpha of a star we calculate it at runtime. What we see here is that there is a base alpha level (alpha will never be lower than this ensuring all stars added to the star field are visible) and a calculation that adds a random value between 0 and 1 to our base amount. This gives the effect of stars being brighter or further in the background. Finally we add the starNode to the star field.
Next update the code to look like the following:
 1 class KGStarFieldNode: SKNode {
 2
 3     private let baseAlpha: CGFloat = 0.1
 4     private let baseDuration: CGFloat = 0.5
 5     private let starSize = CGSizeMake(15.0, 5.0)
 6
 7     private func spawnStar() {
 8         if let gameScene = self.scene {
 9
10             let randomPositionY = CGFloat(arc4random_uniform( UInt32(gameScene.size.height)))
11             let maxPositionX = CGRectGetMaxX(gameScene.frame)
12             let spawnPoint = CGPointMake(maxPositionX, randomPositionY)
13
14             let starNode = SKSpriteNode(imageNamed: "Star")
15             starNode.position = spawnPoint
16             starNode.size = starSize
17             starNode.alpha = baseAlpha + CGFloat(Double(arc4random_uniform(10)) / 10.0)
18
19             self.addChild(starNode)
20
21             let destinationX = 0 - CGRectGetWidth(gameScene.frame) - starSize.width
22             let duration = NSTimeInterval(baseDuration + CGFloat(Double(arc4random_uniform(10)) / 10.0))
Here we have created destinationX which this the distance and direction that stars will travel across the screen. Keep in mind that this is the distance that they will travel, not the point where they will stop. Next duration is assigned. Much like the alpha, there is a base duration that no star will be able to travel across the screen in a shorter time than. Added to the base duration is a calculation that increases the amount of time stars may take. The duration is semi random like the alpha.
 1 private func spawnStar() {
 2         if let gameScene = self.scene {
 3
 4             let randomPositionY = CGFloat(arc4random_uniform( UInt32(gameScene.size.height)))
 5             let maxPositionX = CGRectGetMaxX(gameScene.frame)
 6             let spawnPoint = CGPointMake(maxPositionX, randomPositionY)
 7
 8             let starNode = SKSpriteNode(imageNamed: "Star")
 9             starNode.position = spawnPoint
10             starNode.size = starSize
11             starNode.alpha = baseAlpha + CGFloat(Double(arc4random_uniform(10)) / 10.0)
12
13             self.addChild(starNode)
14
15             let destinationX = 0 - CGRectGetWidth(gameScene.frame) - starSize.width
16             let duration = NSTimeInterval(baseDuration + CGFloat(Double(arc4random_uniform(10)) / 10.0))
17
18             let travel = SKAction.moveByX(destinationX, y:0.0, duration: duration)
19             let remove = SKAction.removeFromParent()
20             let sequence = SKAction.sequence([travel, remove])
21
22             starNode.runAction(sequence)
23      }
24  }
The last several lines are used to animated the stars across the star field making it feel like we are moving forward in the game. The travel action is set using the destinationX value, no change in y axis value and it takes the calculated duration to move from one side of the screen to the other. The next action is used to remove the star from the star field. If we didn’t do this eventually thousands of stars would build up in memory and crash the app. The last action is the sequence, this executes the actions in the sequence they are added to the array. In this case the order of the sequence will be to travel then remove. Finally we ask the star node to run the sequence action.
Next we are going to make the star field continuously spawn new stars and add them to the star field. At the top of the class add the following code:
1 class KGStarFieldNode: SKNode {
2
3     internal func beginSpawningStars() {
4     }
This new function is set to internal access. This means that only code within the module (our app in this case) can use this function.
Next we are going to create an action that will run our spawnStar() function. The bit in the block that looks like [unowned self] in is much like a weak reference to self. We don’t want to capture self in this block because every time this block runs (which will be many) we would increase memory eventually leading to a crash.
1 class KGStarFieldNode: SKNode {
2
3     internal func beginSpawningStars() {
4         let update = SKAction.runBlock {
5             [unowned self] in
6             self.spawnStar()
7         }
8     }
The next bit will look pretty familiar as it works much like code we wrote earlier for moving the stars. Firstly we create an SKAction which waits for a short duration. Next we add our delay and update actions to a sequence. Lastly we add the sequence to an action that will repeat forever. This allows our star field to create stars the whole time that our game is running. In the last line we ask the star field to run the repeatForever action.
 1 class KGStarFieldNode: SKNode {
 2
 3     private let baseAlpha: CGFloat = 0.1
 4     private let baseDuration: CGFloat = 0.5
 5     private let defaultDelay: NSTimeInterval = 0.03
 6     private let starSize = CGSizeMake(15.0, 5.0)
 7
 8     internal func beginSpawningStars() {
 9         let update = SKAction.runBlock {
10             [unowned self] in
11             self.spawnStar()
12         }
13         let delay = SKAction.waitForDuration(defaultDelay)
14         let updateSequence = SKAction.sequence([delay, update])
15         let repeatForever = SKAction.repeatActionForever(updateSequence)
16
17         self.runAction(repeatForever)
18     }
Your completed class should look something like this below.
 1 import SpriteKit
 2
 3 class KGStarFieldNode: SKNode {
 4
 5     private let baseAlpha: CGFloat = 0.1
 6     private let baseDuration: CGFloat = 0.5
 7     private let defaultDelay: NSTimeInterval = 0.03
 8     private let starSize = CGSizeMake(15.0, 5.0)
 9
10
11     internal func beginSpawningStars() {
12         let update = SKAction.runBlock {
13             [unowned self] in
14             self.spawnStar()
15         }
16         let delay = SKAction.waitForDuration(defaultDelay)
17         let updateSequence = SKAction.sequence([delay, update])
18         let repeatForever = SKAction.repeatActionForever(updateSequence)
19
20         self.runAction(repeatForever)
21     }
22
23     private func spawnStar() {
24         if let gameScene = self.scene {
25
26             let randomPositionY = CGFloat(arc4random_uniform( UInt32(gameScene.size.height)))
27             let maxPositionX = CGRectGetMaxX(gameScene.frame)
28             let spawnPoint = CGPointMake(maxPositionX, randomPositionY)
29
30             let starNode = SKSpriteNode(imageNamed: "Star")
31             starNode.position = spawnPoint
32             starNode.size = starSize
33             starNode.alpha = baseAlpha + CGFloat(Double(arc4random_uniform(10)) / 10.0)
34
35             self.addChild(starNode)
36
37             let destinationX = 0 - CGRectGetWidth(gameScene.frame) - starSize.width
38             let duration = NSTimeInterval(baseDuration + CGFloat(Double(arc4random_uniform(10)) / 10.0))
39
40             let travel = SKAction.moveByX(destinationX, y:0.0, duration: duration)
41             let remove = SKAction.removeFromParent()
42             let sequence = SKAction.sequence([travel, remove])
43
44             starNode.runAction(sequence)
45
46         }
47     }
48 }
Now that we have completed the KGStarFieldNode class we can add it to our game scene. Open GameScene.swift and find the didMoveToView function. At the top of this function add a line that changes our background colour to the blackness of deep space.
1 override func didMoveToView(view: SKView) {
2         /* Setup your scene here */
3
4         self.backgroundColor = SKColor.blackColor()
We are going to add a function that creates and starts our star field adding stars. At the bottom of this class before the final closing brace add the following code:
1 func loadStarField() {
2         let starField = KGStarFieldNode()
3         self.addChild(starField)
4         starField.beginSpawningStars()
5     }
The loadStarField function first creates a new instance of the star field. Then adds the star field as a child node of the game scene and lastly runs the beginSpawningStars function of the starField class. The completed GameScene.swift should look like the following:
 1 import SpriteKit
 2
 3 class GameScene: SKScene {
 4
 5     override func didMoveToView(view: SKView) {
 6         /* Setup your scene here */
 7
 8         self.backgroundColor = SKColor.blackColor()
 9
10         let myLabel = SKLabelNode(fontNamed:"Futura");
11         myLabel.text = "Hello, World!";
12         myLabel.fontSize = 65;
13         myLabel.position = CGPoint(x:CGRectGetMidX(self.frame), y:CGRectGetMidY(self.frame));
14
15         self.addChild(myLabel)
16
17         self.loadStarField()
18     }
19
20     override func touchesBegan(touches: NSSet, withEvent event: UIEvent) {
21         /* Called when a touch begins */
22
23         for touch: AnyObject in touches {
24             let location = touch.locationInNode(self)
25
26             let sprite = SKSpriteNode(imageNamed:"Spaceship")
27
28             sprite.xScale = 0.5
29             sprite.yScale = 0.5
30             sprite.position = location
31
32             let action = SKAction.rotateByAngle(CGFloat(M_PI), duration:1)
33
34             sprite.runAction(SKAction.repeatActionForever(action))
35
36             self.addChild(sprite)
37         }
38     }
39
40     override func update(currentTime: CFTimeInterval) {
41         /* Called before each frame is rendered */
42     }
43
44     func loadStarField() {
45         let starField = KGStarFieldNode()
46         self.addChild(starField)
47         starField.beginSpawningStars()
48     }
49 }
Finally! Build and run and you should see stars go scrolling past the screen. It should look something like the gif below.
Whew! That was a bit of a marathon. I wanted to make sure that we got to see some results of our own work and not just clicking through menus in Xcode. I’ll try and make sure the next few tutorials deal with a single item, since these are supposed to be easily digested they hopefully will be much shorter. In the next tutorial we will work on adding our own player ship to the scene. Hope to see you next time and if you have any questions or suggestions or even complaints, please add them to the discussion below this post or reach me by email.